The Comprehensive Guide to the Dental Implant Process
If you are considering a solution for missing teeth, understanding the dental implant process is essential. With advancements in dental technology, implants have become a popular option due to their durability and natural appearance. This article will guide you through every stage of the dental implant process, ensuring you are well-informed and prepared for what lies ahead.
What Are Dental Implants?
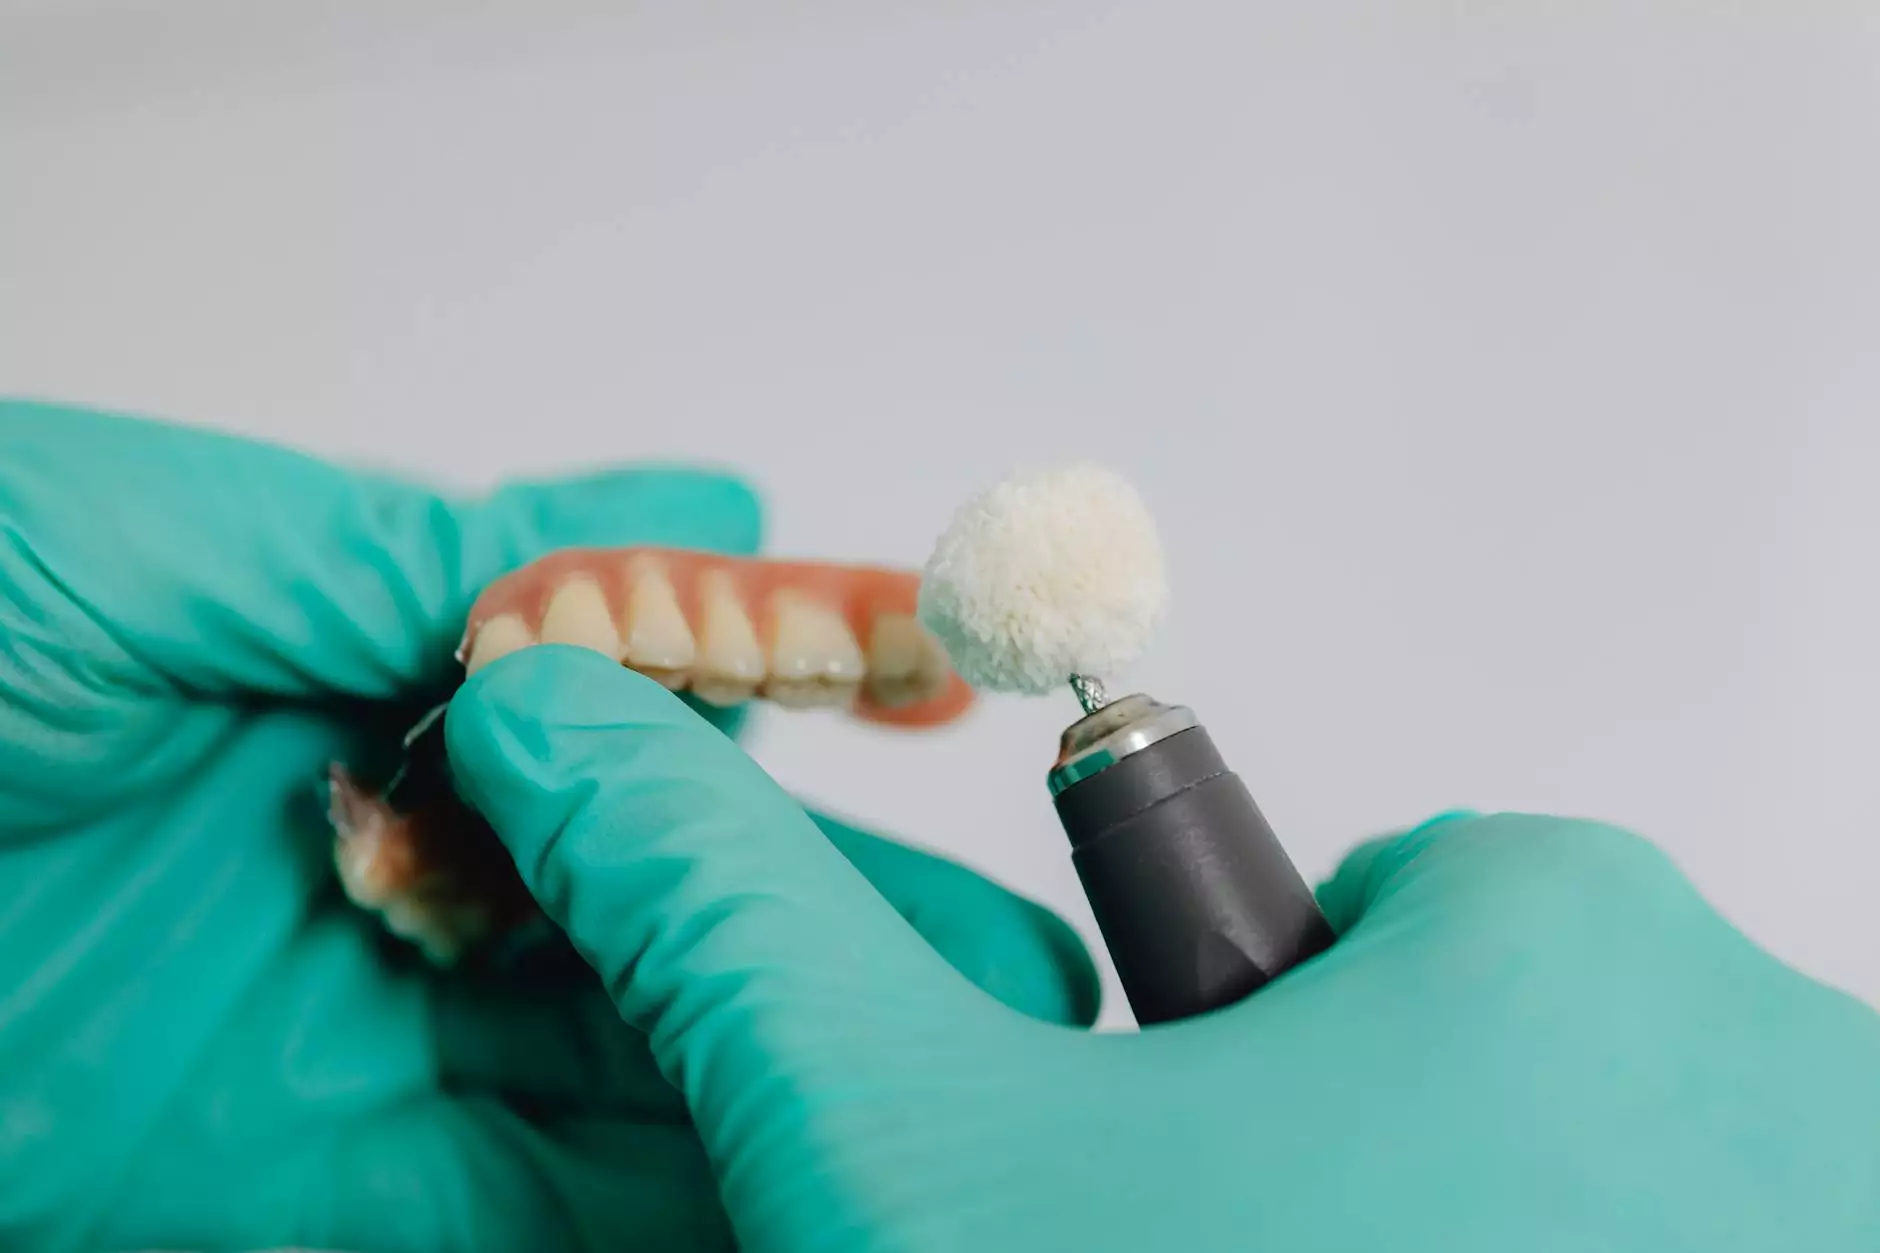
Dental implants are artificial tooth roots made of biocompatible materials, usually titanium. They are surgically placed into the jawbone, serving as a foundation for replacement teeth, crowns, or bridges. Implants provide a permanent solution to tooth loss and offer numerous benefits:
- Enhanced appearance: Implants look and feel like natural teeth.
- Improved speaking: Unlike dentures, implants don’t slip and are more stable.
- Better comfort: They become a part of you, eliminating discomfort associated with removable dentures.
- Easy eating: Implants function like natural teeth, allowing you to enjoy your favorite foods with confidence.
- Durability: With proper care, implants can last a lifetime.
- Bone health: Implants stimulate jawbone growth, preventing bone loss.
The Stages of the Dental Implant Process
The dental implant process involves several key stages, each crucial to the successful integration and functionality of the implant. Below is an in-depth overview:
1. Initial Consultation
The journey begins with an initial consultation at Kensington Dental Studio. During this appointment, your dentist will:
- Review your dental and medical history
- Conduct a comprehensive oral examination
- Take X-rays or 3D imaging to assess bone density and structure
- Discuss your goals and expectations regarding the implants
This information helps your dental team create a personalized treatment plan tailored to your specific needs.
2. Treatment Planning
Once the assessment is complete, a detailed treatment plan is devised. This plan considers:
- The number of implants needed
- The type of restoration required (crown, bridge, etc.)
- Your jawbone health and possible need for bone grafting
This stage is crucial as it sets the foundation for the success of the entire dental implant process.
3. Bone Grafting (If Necessary)
If you have experienced significant bone loss, a bone graft may be recommended. This process involves:
- Taking bone from another part of your body or using synthetic materials
- Placing the graft into the jawbone to provide a stable foundation for the implants
Bone grafting requires time for healing, which can prolong the overall treatment timeline.
4. Implant Placement
Once your jawbone is ready, the next step in the dental implant process is the surgical placement of the implants. This is typically performed in a dental office under local anesthesia or sedation. The procedure involves:
- Making an incision in the gum to expose the jawbone.
- Drilling holes into the bone to accommodate the implants.
- Inserting the titanium implants into the drilled holes.
- Closing the incision with sutures.
The number of implants placed may vary based on your specific situation, ranging from one single implant to multiple implants for a full arch restoration.
5. Osseointegration
After implant placement, a healing period of several months is necessary for osseointegration. During this time, the implants fuse with the bone, creating a solid foundation. It’s crucial to follow your dentist’s post-operative care instructions during this phase to promote healing and avoid any complications.
6. Abutment Placement
Once osseointegration is complete, an abutment is placed on top of the implant. The abutment serves as a connector between the implant and the final dental restoration. This procedure is usually straightforward and can often be done under local anesthesia. The process consists of:
- Reopening the gum tissue to expose the implant.
- Attaching the abutment to the implant.
- Closing the gum tissue around the abutment, leaving it exposed.
7. Final Restoration
After healing from abutment placement, the final step in the dental implant process is placing the custom-made dental restoration. Depending on your situation, this could be:
- A crown for a single implant.
- A bridge for two or more adjacent implants.
- A full arch restoration for multiple implants.
Your dentist will take impressions of your teeth to ensure a precise fit and color match. The final restoration is then securely attached to the abutment, completing the procedure.